Garden of Witches Beginner Guide: Your First Runs
Learn the first-run loop, choose safer room rewards, recover from defeat, and build lasting progress in Garden of Witches 1.0.
Direct answer
Start with the default mouse-aim controls, inspect each room reward before entering, protect enough health for the next major fight, and use every defeat to review permanent progress and unlocked loadout options.
Quick answer
- Learn movement, aiming, attacks, Spells, and dash before changing controls.
- Choose rooms by visible reward, loadout fit, and survival risk.
- After defeat, review new Weapons and Spells before the next attempt.
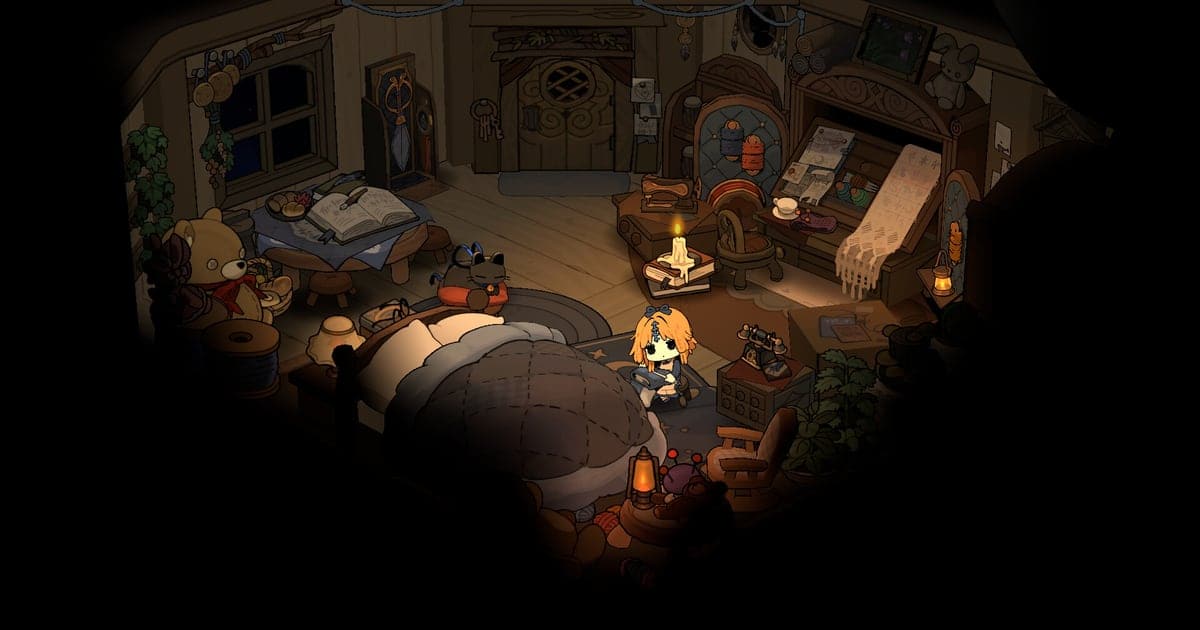
First Run Plan at a Glance
Your first goal is to understand one complete loop. Begin with the supported default controls, enter rooms according to their visible rewards, and treat low health as a reason to favor recovery over a greedier route. When a run ends, return home and check permanent progress before starting again.
| Moment | Best first-run action | Success check |
|---|---|---|
| Before entering | Keep Keyboard and Mouse while you learn free aiming | Movement and aiming feel like separate actions |
| At the Armory | Start with the default Scissors and available Spells | You know which attack and skills belong to the current loadout |
| At a room choice | Read the reward icon before choosing a door | The selected reward supports the loadout or protects the run |
| After defeat | Review permanent progress and unlocked options at Sil's house | The next attempt has one deliberate loadout change |
Set Up Controls Before the First Run
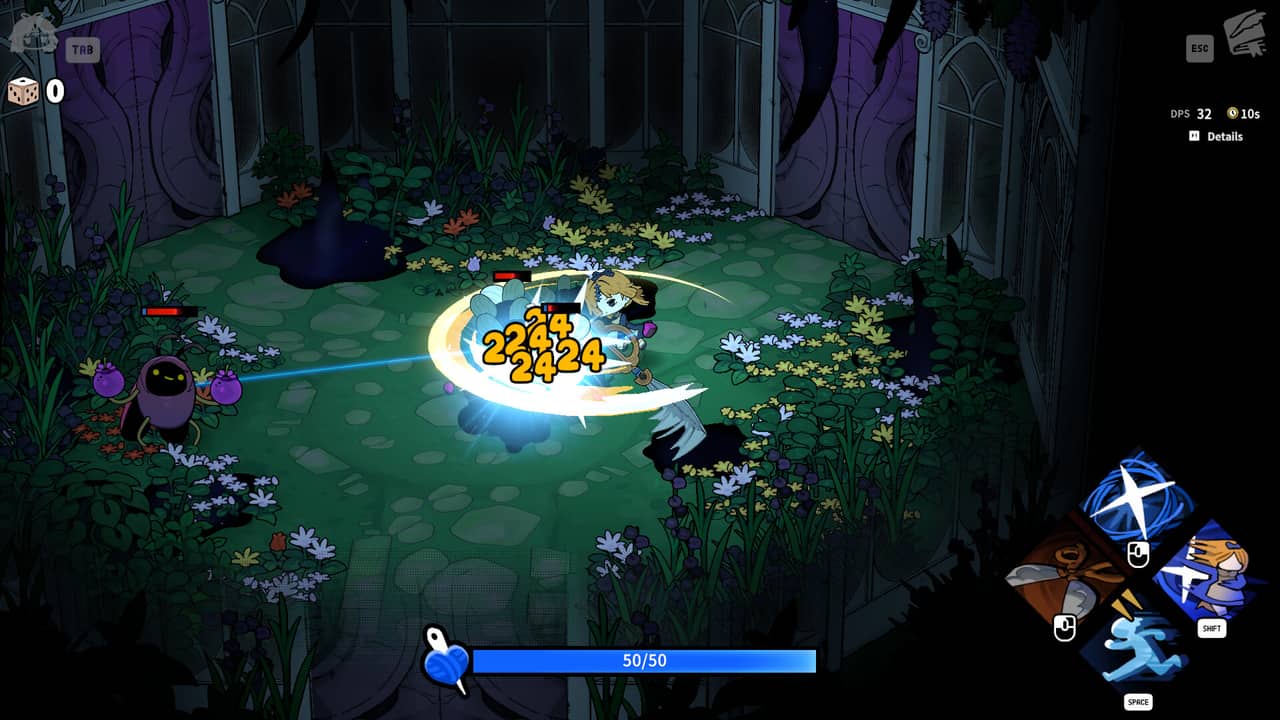
Version 1.0 starts with Keyboard and Mouse, including free mouse aiming and mouse-based skill activation. Keep that scheme for the opening practice so you can learn movement, the Weapon attack, available Spells, and dash as distinct actions. If aiming with keys feels clearer, Keyboard Only remains available in Settings.
- Move around a safe opening area while aiming the cursor in a different direction.
- Use the equipped Weapon and each available Spell until you can identify their separate jobs.
- Practice one dash between attacks, then open the map and identify the reward shown for the next room.
The control check is simple: you should be able to move away from danger while keeping your aim on a target. If movement and aiming still compete for your attention, test Keyboard Only before committing to a longer run.
Choose Rooms by Reward and Risk
Room layouts are authored, while their placement and clear rewards can change between runs. The map reveals the reward type before entry, so read that icon first and choose the reward that improves the loadout you already have. Current routes can include normal combat, Elite Monster, Imprint, and Relic choices.
Use health as the limit on ambition. When the current health total makes the next elite or boss feel unsafe, recovery is more valuable than another optional power increase. A healthy build can take the reward that most directly reinforces its current Weapon and Spells.
This historical Early Access overview shows the broader rhythm of room rewards, healing decisions, and preparing for later encounters. Use the current in-game labels and the 1.0 control scheme when the footage differs.
A Hitchhiker's Guide to Early Access: Garden of Witches
See an early-game overview of room rewards, recovery choices, and how a run develops toward tougher encounters.
Check Progress Before the Next Room
Pause at each door and compare your current state with the expected state. This catches small first-run mistakes before they become a failed boss attempt.
| Expected state | Progress check | If it is missing | Next check |
|---|---|---|---|
| Controls feel readable | You can move, aim, attack, use Spells, and dash deliberately | Inputs still blur together under pressure | Revisit a safe room and test one action at a time |
| The route has a purpose | You can name the reward before entering | You are choosing doors only by position | Reopen the map and read the reward icon |
| The loadout has a direction | The next reward improves the current Weapon or Spells | Rewards are scattered across unrelated ideas | Favor the next reward that reinforces an equipped ability |
| Health matches the threat | You are comfortable entering the next elite or boss | One hit could end the attempt | Choose recovery when it appears instead of adding more risk |
Use Defeat as the Next Upgrade Check
Defeat returns Sil to her house with permanent progression and unlocked loadout options preserved. More Weapons and Spells become available through chapter progress and other conditions, so a failed attempt should lead to a review, then one clear change.
First identify the weak point. If damage was too low, compare the available Garden of Witches Weapons before testing one newly unlocked offensive option. If survival failed first, choose a setup that gives you more room to learn enemy patterns, then use the best build planning approach to keep the Weapon and Spells working toward one goal. Keep the rest of the loadout familiar so the next result tells you whether that single change helped.
Know What Can Change Between Runs
The 1.0 control options, starting Scissors, limited initial Spell pool, and permanent progression loop are current game facts. Room placement and clear rewards vary, while the underlying combat rooms remain authored. The map reward icon is therefore a reliable planning tool even when the route looks different.
The embedded video was recorded during Early Access. It remains useful for seeing the early run rhythm, but exact menus, balance, and labels shown there may differ from version 1.0. When visual details conflict, follow the current game interface.
Frequently Asked Questions
Was this helpful?
Continue reading
These related Garden of Witches pages answer the next questions around this topic.